2.2.7. Install as a VM using Proxmox VE
This chapter explains how to start a Turbo IPsec VM using Proxmox VE and the .iso
file.
It expects that you already installed a Proxmox VE cluster, in which you are able to spawn VMs with network connected.
It follows the following steps:
make the
.isofile available to Proxmox VEcreate and configure a VM
boot the VM using the
.isofileinstall Turbo IPsec on the virtual disk
Upload the .iso file
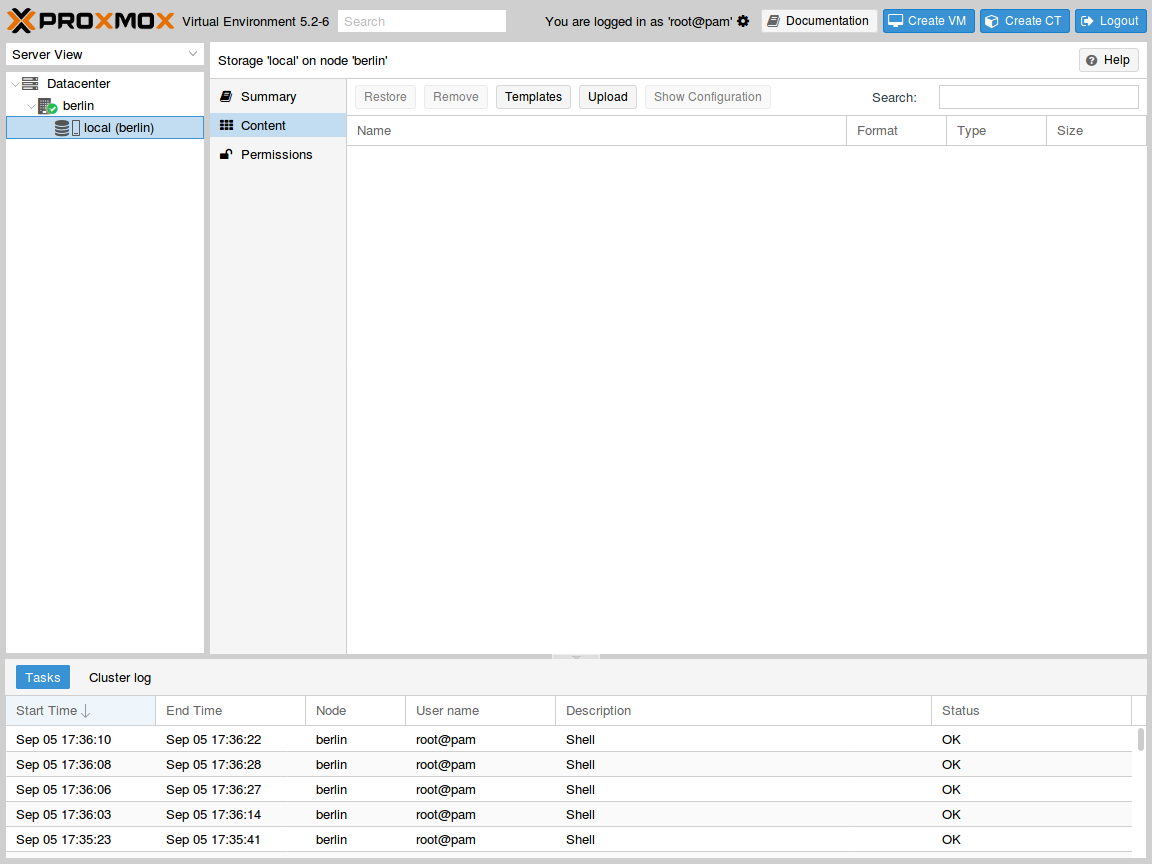
Select the local storage of your node in the left pane and visualize its content:
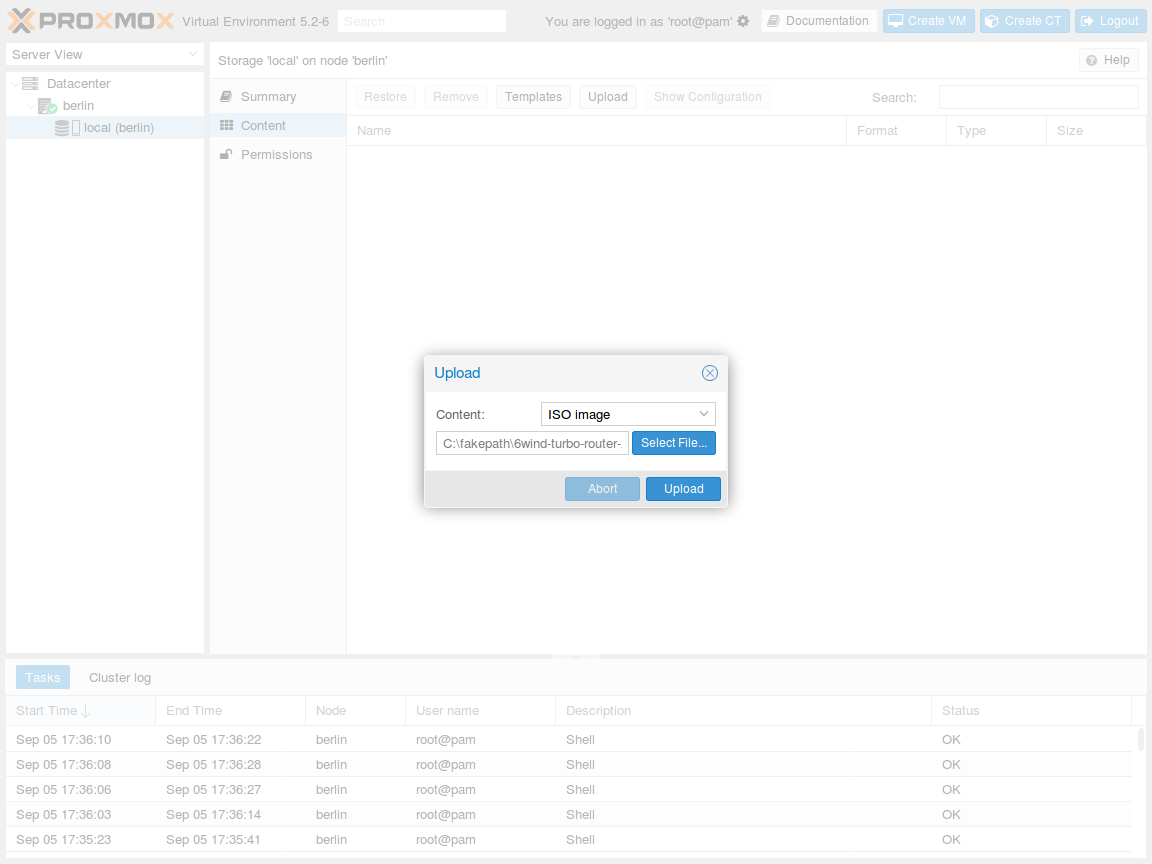
Press the Upload button. In the pop-up window, select ISO image as content
type and point to the Turbo IPsec .iso file on your local disk. Then press
Upload to send this file to your Proxmox VE node:
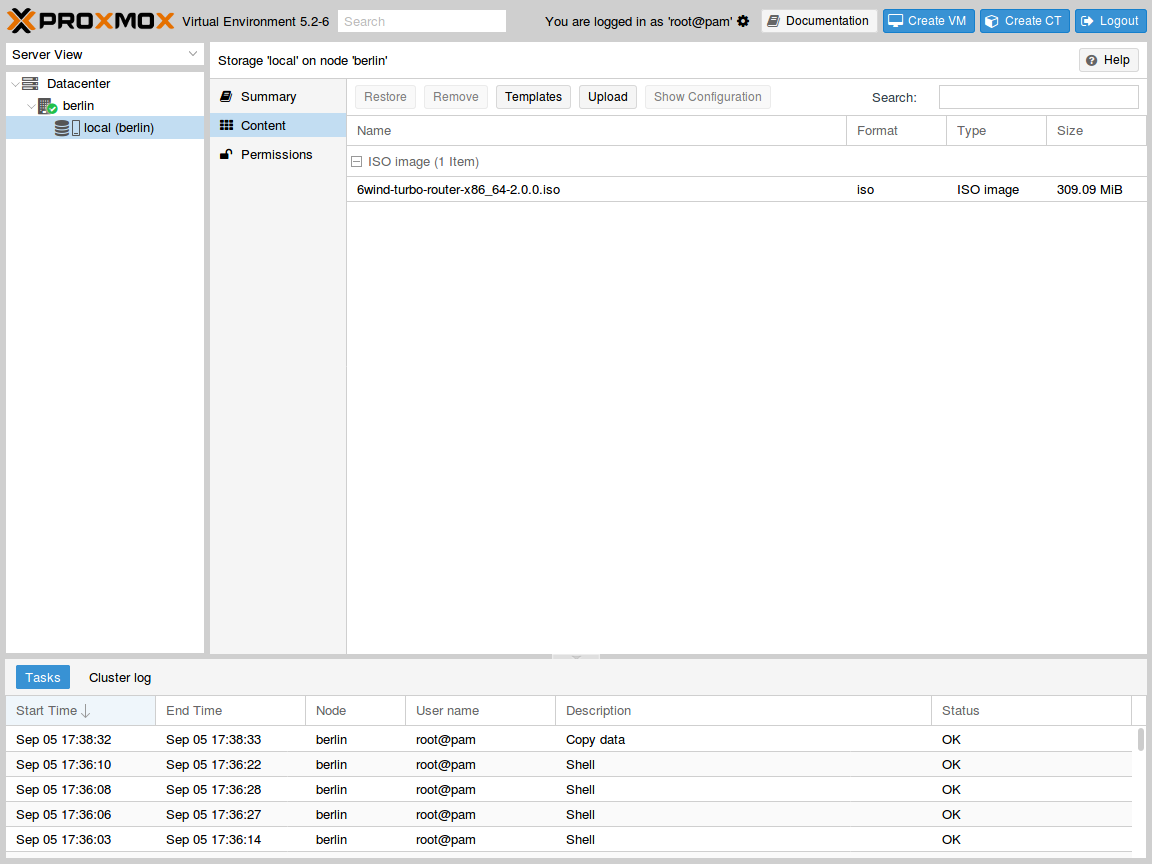
The .iso file is now available to this node:
Create and boot the VM
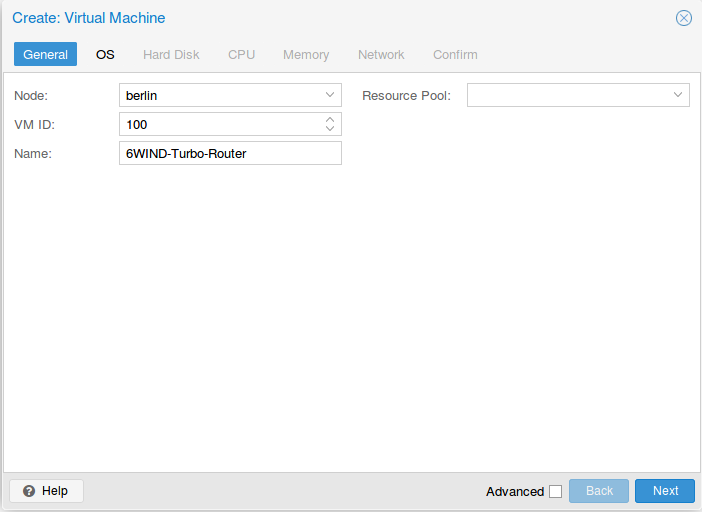
In the top right corner, press the Create VM button to launch the creation
wizard. In General tab, check the node and the VM ID, and give a name to the
VM, then press Next:
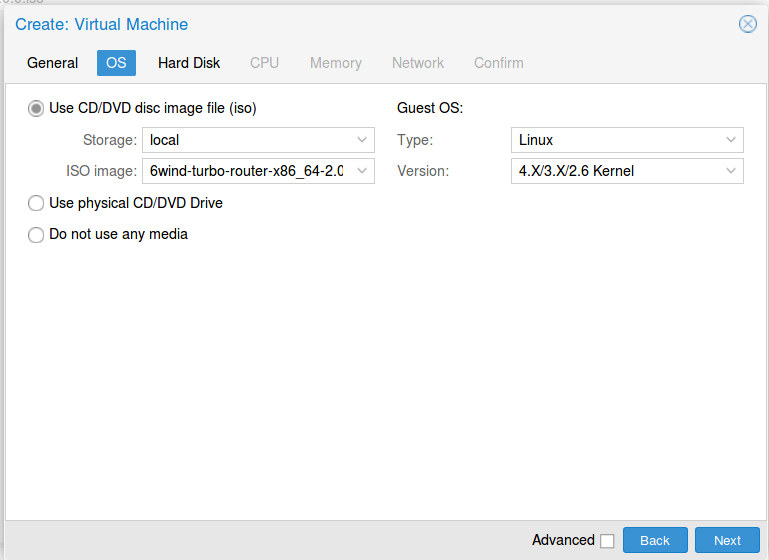
In OS tab, make sure to use the uploaded .iso file as CD/DVD and to specify
a Linux with 4.X/3.X/2.X kernel as Guest OS, then press Next:
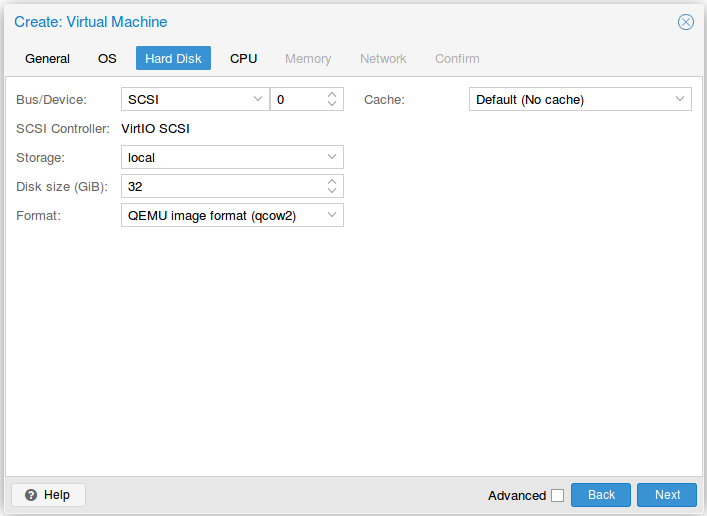
In Hard Disk tab, keep the default qcow2 device with VirtIO SCSI storage and
allocate at least 10GB, then press Next:
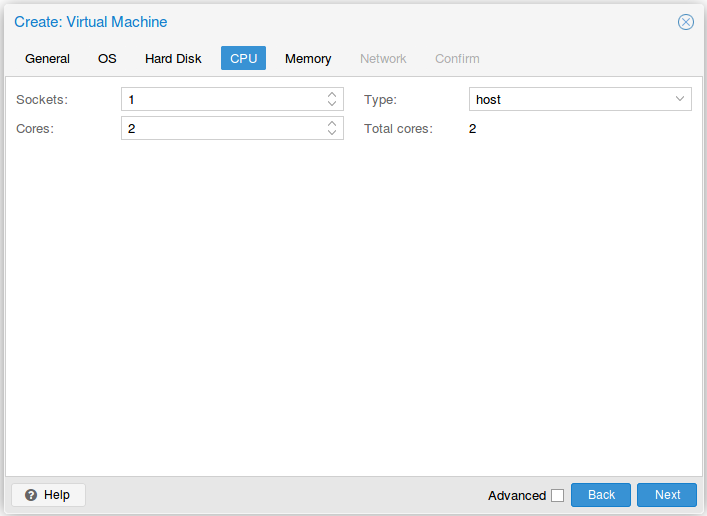
In CPU tab, allocate at least 2 cores and select host as CPU type, then
press Next:
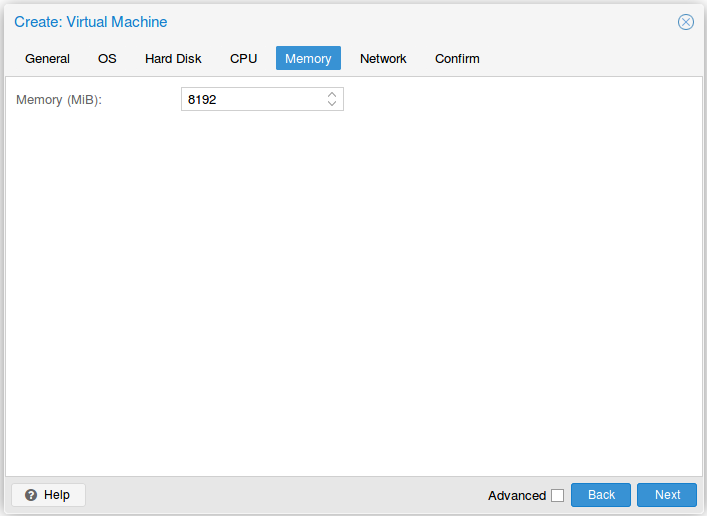
In Memory tab, allocate at least 8GB of RAM, then press Next:
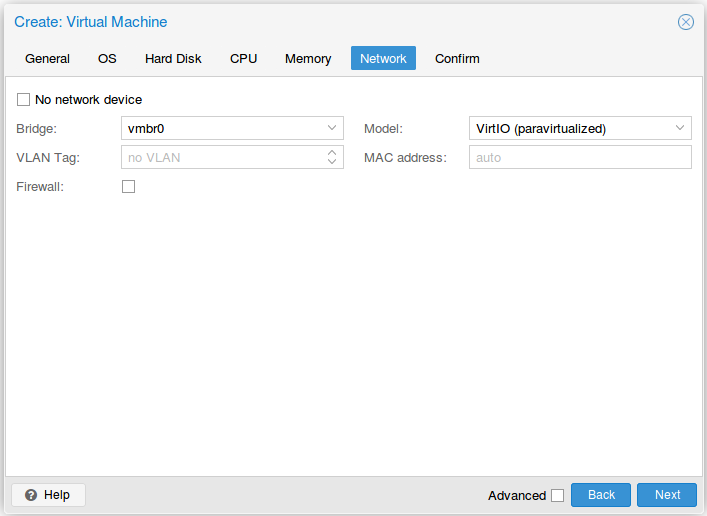
In Network tab, bind the virtual management interface to a host bridge in
order to have access to external network. Select VirtIO as model type, then
press Next:
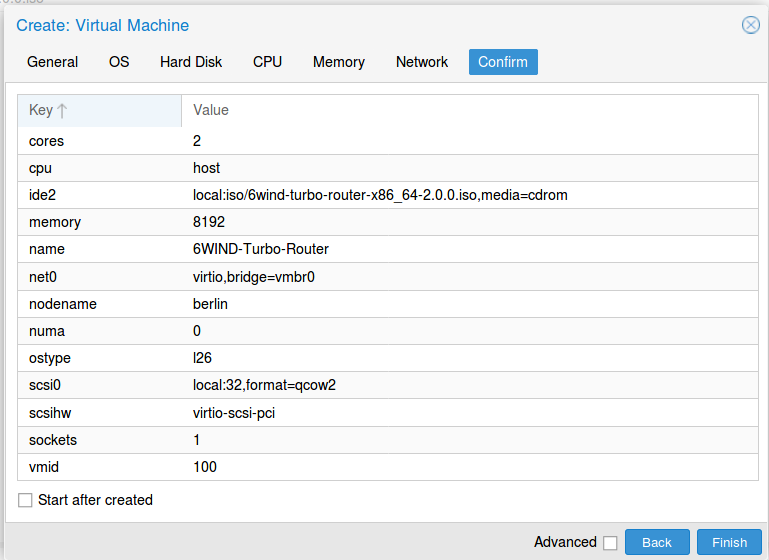
In Confirm tab, review your settings and press Finish to finalize the
creation and get back to the main dashboard:
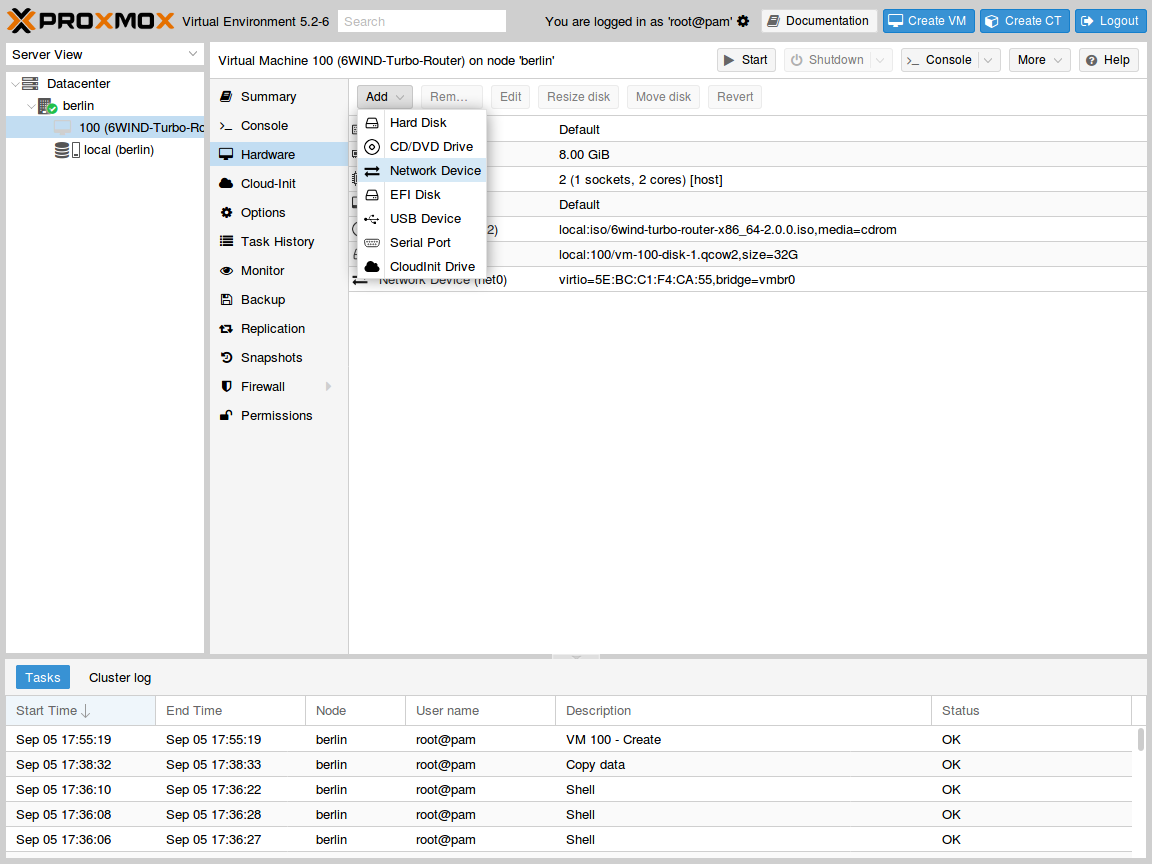
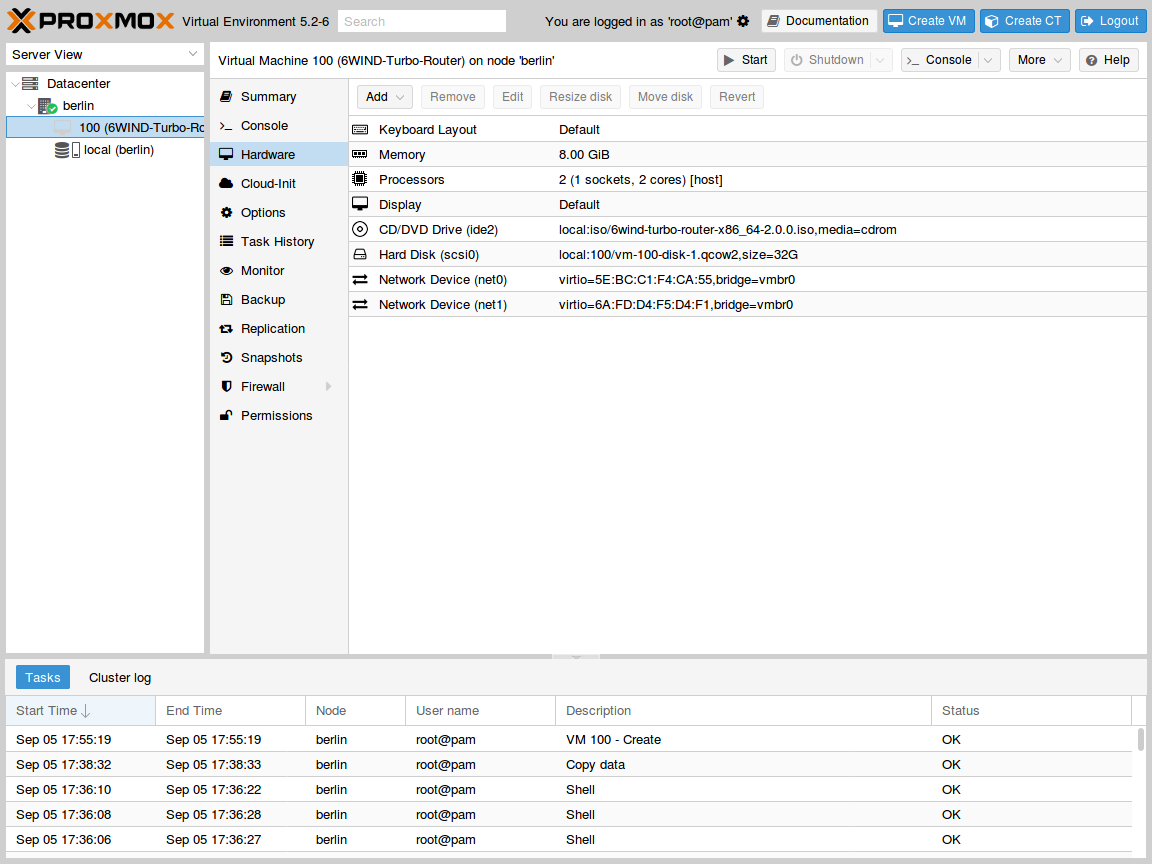
The VM is now available in the left pane below your physical node. Select it and review its hardware configuration:

Press Add > Network Device:
In the pop-up window, select an attachment bridge and choose VirtIO as model,
then press Add:
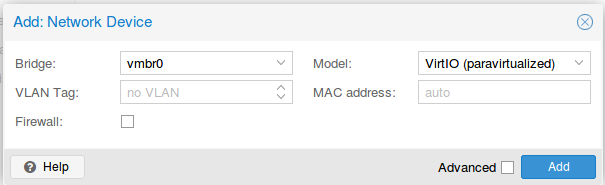
The second network device can now be seen in the hardware configuration of the VM:
Warning
Please make sure that there is no other Turbo IPsec live CDROM or live USB inserted in this VM. Otherwise the system might fail to boot properly.
Press Start in the top right corner to actually start the VM.
The next step consists in installing on the virtual disk.
Install Turbo IPsec
Warning
Please carefully check the device associated to the disk you want to use, or
you could wipe the wrong drive in the next step. When following this
installation guide you have only one disk attached to the VM. Thus the
device name is sda. If you attach additional virtual disks, make sure to
choose the right device.
Note
Please make sure to select this disk as boot device after installation. You can access boot menu by pressing ESC at startup in the VM console.
Once the VM has booted on the .iso file, select it in the left pane of the
main dashboard and press the >_ Console button to get access to the serial
console.
Log in as admin, password admin, and at the prompt, do:
vrouter> cmd system-image install-on-disk sda
This command will install Turbo IPsec on /dev/sda. The relevant configuration
files will be copied to the local drive.
Reboot to finally boot Turbo IPsec from the virtual hard disk:
vrouter> cmd reboot
The next step is to perform your first configuration.