2.2. Single Node OpenShift Cluster Deployment
An SNO cluster will be installed on KVM using libvirt.
Warning
This kind of deployment should not be set in production environment.
See also
OpenShift Container Platform installation to get more informations from Red Hat Documentation about the type of cluster to be deployed and the supported platforms.
Ansible and Terraform will be used to automate the deployment.
Note
For this deployment a local DNS will be set through NetworkManager’s
embedded dnsmasq.
On the host machine, create a directory (for example, in your home directory).
# mkdir ocp-install
Copy all files including directories and subdirectories from templates folder into the previous directory created on the host machine.
Note
Those files can be downloaded from the 6WIND deployment guide repository.
Once done, you should have the following structure:
.
├── 01_sno_install_virtualization_tools.yml
├── 02_sno_setup_working_directory.yml
├── 10_setup_sno_cluster.yml
├── 99_cleanup_sno.yml
├── ansible.cfg
├── ansible.log
├── files
│   └── localdns.conf
├── group_vars
│   └── vm_host
│       ├── packages.yml
│       ├── sno-vars.yml
│       └── terraform.yml
├── inventory
├── main-install.yml
├── requirements.yml
├── templates
│   ├── htpasswd_provider.j2
│   ├── install-config-sno.j2
│   ├── libvirt_dnsmasq_sno.j2
│   ├── ocp_user_script.j2
│   ├── systemd-resolved.j2
│   └── update_vm_script.j2
├── terraform
│   ├── libvirt-resources-sno
│   │   └── libvirt-resources.tf
│   └── sno
│       └── master-sno.tf
└── vars
    └── sno_vars.yml
Go to this directory:
# cd ocp-install
Then install all required dependencies:
# ansible-galaxy collection install -r requirements.yml
Regarding PCI Device Assignment with SR-IOV Devices, check VF interfaces:
# lspci -vv | grep -i eth
[...]
02:10.0 Ethernet controller: Intel Corporation X540 Ethernet Controller Virtual Function (rev 01)
02:10.2 Ethernet controller: Intel Corporation X540 Ethernet Controller Virtual Function (rev 01)
[...]
Update the following file templates/update_vm_script.j2 with
information collected previously through lspci command: <address
type=’pci’ domain=’0x0000’ bus=’0x02’ slot=’0x10’
function=’0x2’>:
#!/bin/bash

{% for pci in cluster_nodes.specs.sno.interfaces %}
virsh attach-interface {{ cluster_nodes.host_list.sno.name }} hostdev {{ pci }} --managed --persistent
{% endfor %}

\cp {{ workspace_directory.base_path }}/{{ cluster.name }}/config/auth/kubeconfig ~/.kube/config
Copy your pull secret from Red Hat OpenShift Cluster Manager Console and paste it in the
vars/sno_vars.yml file in the pullSecret field between single quotes.
domain: 6wind.test
network_cidr: 192.168.100.0/24
cluster:
  version: stable
  name: ocp
  ocp_user: admin
  ocp_pass: password
  pullSecret: 'to be filled'
cluster_nodes:
  host_list:
    sno:
      ip: 192.168.100.7
      name: master-sno
  specs:
    sno:
      vcpu: 16
      mem: 32
      disk: 60
      interfaces:
        - 0000:02:10:0
        - 0000:02:10:2
You can also make other changes at your convenience in this file regarding the password, the domain name, the cluster name, the number of vCPUs …
Once the changes are done in the previous files, we can deploy the OCP cluster by executing the Ansible playbook:
# ansible-playbook main-install.yml
Note
It will take some time (up to an hour) for the OCP cluster to be fully deployed. Please wait until it ends.
Check OCP cluster is up and running:
# oc get nodes
NAME      STATUS   ROLES           AGE     VERSION
ocp-sno   Ready    master,worker   7h47m   v1.24.6+5658434
# oc get pods --all-namespaces
NAMESPACE                                          NAME                                                         READY   STATUS      RESTARTS   AGE
openshift-apiserver-operator                       openshift-apiserver-operator-6ff68c7b95-q58md                1/1     Running     3          7h49m
openshift-apiserver                                apiserver-c59cb67ff-q56nh                                    2/2     Running     6          7h46m
[...]
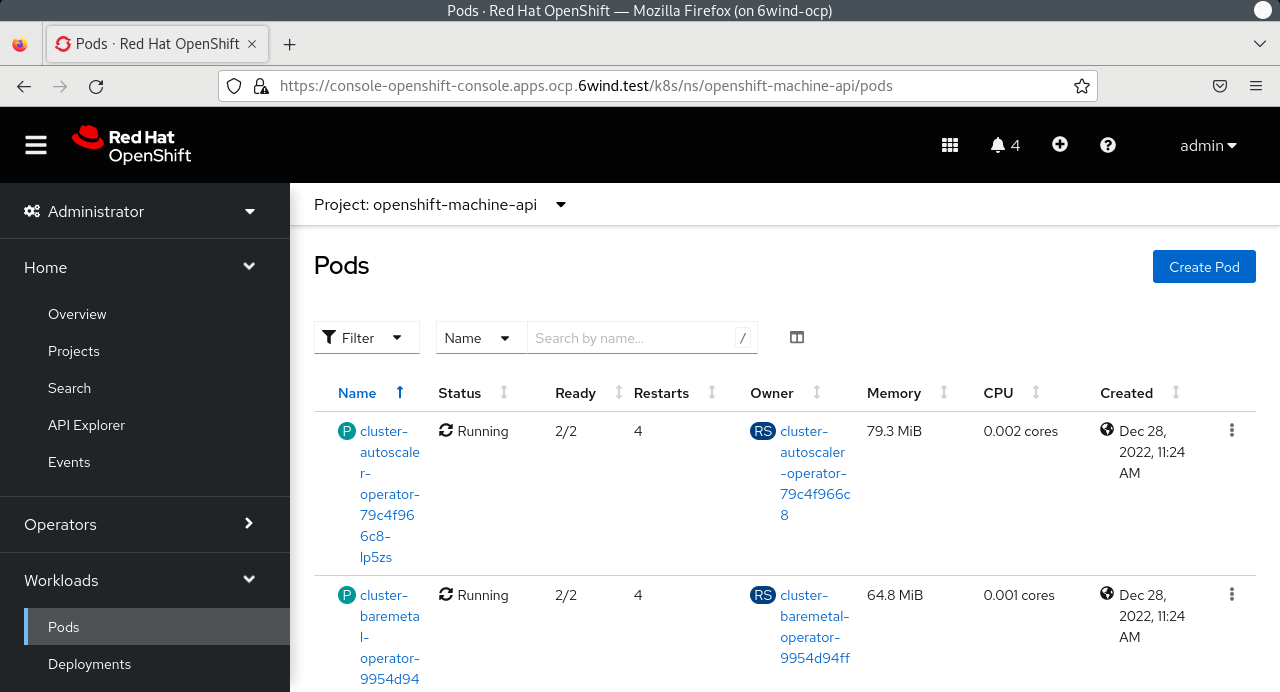
From the host machine, open a web browser and go to the following link:
https://console-openshift-console.apps.<cname>.<dname>
where <cname> is to be replaced by the cluster name and <dname> by the domain
defined in the previous file: sno_vars.yml.
Then log in with htpasswd_provider with credentials ocp_user and ocp_pass
defined in the previous file: sno_vars.yml.

If needed, use this template to fully delete the SNO OCP cluster:
# ansible-playbook 99_cleanup_sno.yml